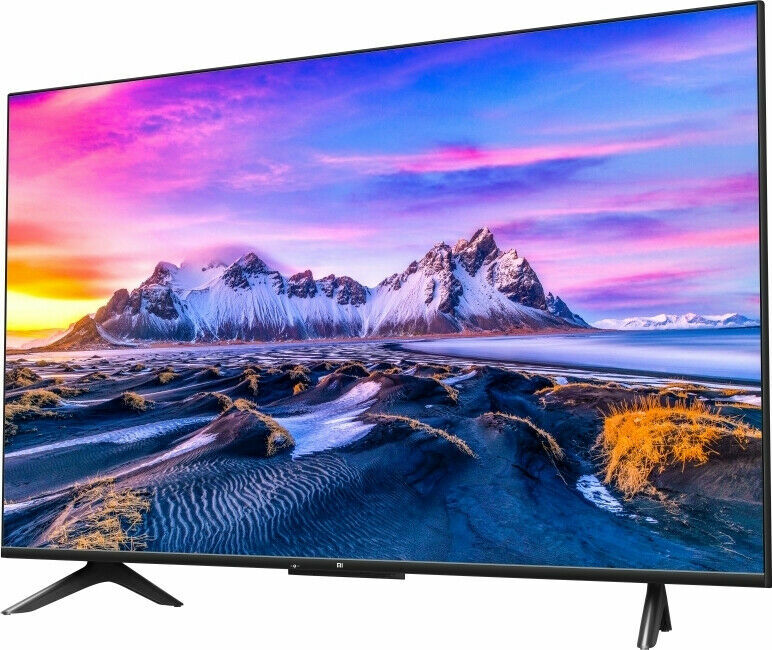
So, the box has arrived. That beautiful, monolithic slab of cardboard sitting in your living room isn’t just a package; it’s a portal. Inside is your new smart TV, a gateway to Hawkins, Westeros, and the outer reaches of the galaxy. But before you can binge the latest season of The Bear with the picture quality the creators intended, you’ve got to get through the first episode: the setup. Learning How To Set Up New Smart Tv can feel like a chore, but trust me, getting it right from the start transforms your entire viewing experience. Think of this guide as your personal showrunner, here to walk you through the pilot episode of your new television’s life.
The Unboxing: More Than Just Cardboard and Styrofoam
This isn’t just about ripping open a box. This is the overture. The opening credits. Treat it with a bit of ceremony.
- Find a soft surface: Lay down a blanket or rug. The last thing you want is to scratch that pristine screen before you’ve even seen a single pixel of Bridgerton.
- Recruit a co-star: Modern TVs are surprisingly thin and unwieldy. Unless you’re dealing with a smaller screen, grab a friend. It’s a two-person job.
- Locate the essentials: Before you heave the screen out, find the stand, screws, remote, and batteries. They’re usually tucked away in styrofoam compartments. Nothing kills the mood faster than hunting for a tiny screw.
Setting the Stage: Location, Location, Location
Where you place your TV is as important as the quality of the TV itself. You wouldn’t watch a Scorsese film on your phone in a brightly lit food court, would you?
- Avoid Glare: Position the TV away from windows that get direct sunlight. That glare is the arch-nemesis of any dark, atmospheric scene in a show like True Detective.
- Eye Level is Key: The center of the screen should be roughly at eye level when you’re seated. Cranking your neck up is a recipe for discomfort during a movie marathon.
- Give it Room to Breathe: TVs generate heat. Ensure there’s a few inches of space around the back and sides for ventilation to keep it running smoothly for years to come.
|
Our Picks for the Best Television in 2026
As an Amazon Associate, we earn from qualifying purchases.
|
||
| Num | Product | Action |
|---|---|---|
| 1 | Electric Spin Scrubber - Cordless Cleaning Brush with Digital Display, 2 Speeds, 8 Brush Heads, IPX7 Waterproof, Adjustable Long Handle for Bathroom, Tub, Tile, Shower, and Car |

|
The First Power-On: Your Pilot Episode
Once it’s securely on its stand or mounted on the wall, plug it in. This is the moment of truth. When you press that power button for the first time, you’ll be greeted by the brand’s logo and a setup wizard. This initial process is your TV’s way of introducing itself. You’ll typically be asked to:
- Select your language (e.g., English)
- Choose your country/region
- Pair the remote control (usually by holding a button or two)
It’s all straightforward. Just follow the on-screen prompts. This is the easy part, the “previously on” segment before the real plot begins.
How to Set Up New Smart TV Network Connections
What makes a smart TV “smart”? Its connection to the internet. This is the step that unlocks the entire universe of content. You’ll be prompted to connect to a network.
You generally have two choices:
- Wi-Fi (Wireless): The most common and convenient option. Simply select your home network’s name (SSID) from the list and punch in your password. Pro tip: Have your Wi-Fi password handy before you start.
- Ethernet (Wired): If your TV is close to your router, I highly recommend this. A wired connection is generally faster and more stable than Wi-Fi, which means less buffering during that critical 4K action sequence in a Marvel movie.
Once connected, the TV will likely perform its first software update. Do not skip this. These updates often include crucial security patches, bug fixes, and sometimes even new features. Let it run its course; it’s like your TV is downloading its character development for season one.
The Director’s Cut: Calibrating Picture and Sound
This, my friends, is where we separate the casual viewers from the true Televisionados. The default “out-of-the-box” settings are almost always terrible. They’re designed to look flashy and bright in a big-box store, not realistic in your living room.
Getting the Picture Perfect
Diving into picture settings can seem intimidating, but a few small tweaks make a world of difference.
- Find the Picture Mode: Look for presets like “Standard,” “Vivid,” “Sports,” and “Cinema” or “Movie.” For almost everything you watch, choose “Cinema” or “Filmmaker Mode.” These modes are designed to present the image as the director intended, with accurate colors and no weird post-processing. “Vivid” should be avoided at all costs—it’s the visual equivalent of someone shouting every line of dialogue.
- Turn Off Motion Smoothing: This feature goes by many names (“Auto Motion Plus,” “TruMotion,” “MotionFlow”). Its job is to reduce motion blur by inserting extra frames. The result is the dreaded “soap opera effect,” which makes cinematic masterpieces look like cheap, videotaped daytime dramas. Turn it off. Your eyes will thank you.
- Adjust Backlight/Brightness: Don’t confuse “Brightness” with “Backlight” (or “OLED Light” on OLED TVs). The Backlight controls the overall intensity of the screen. Adjust this to a comfortable level for your room’s lighting. Brightness actually controls the black levels; you can usually leave this at its default setting.
“The goal of proper calibration is not to make the image ‘pop’—it’s to make it disappear. You should be so immersed in the story that you forget you’re looking at a screen. That’s the magic we’re chasing.” – Dr. Alistair Finch, Media Technology Analyst
Tuning Your Audio Experience
Modern TVs are so thin that there’s little room for good speakers. While an external soundbar is always the best upgrade ([check out our guide to the best soundbars]), you can still improve the built-in audio. Look for sound modes like “Cinema” or “Movie,” which often enhance dialogue clarity and provide a wider soundstage.
Building Your Content Universe: Installing Apps
Now for the fun part. Your TV’s operating system (like Google TV, webOS, or Tizen) is your new command center. It will come with some apps pre-installed, but you’ll want to head to the app store to grab all your favorites:
- Netflix
- Disney+
- HBO Max (now Max)
- Hulu
- Amazon Prime Video
- YouTube
Log in to each of your accounts. Yes, it can be a bit tedious typing in passwords with a remote, but many services now offer a much easier way to log in with your phone.
The Grand Finale: Personalizing Your Home Screen
The final step is to make this TV yours. Most smart TV home screens are customizable. You can rearrange your apps so your most-used services are front and center. Spend a few minutes organizing this space. It’s like setting up your own personal TV guide, curated for you, by you.
Frequently Asked Questions
Q: Why won’t my new smart TV connect to the Wi-Fi?
A: First, double-check that you entered the password correctly—it’s case-sensitive. If it’s still not working, try restarting your TV and your internet router. Also, ensure the TV isn’t too far from the router, as a weak signal can cause connection issues.
Q: How do I update my smart TV’s software?
A: Your TV should prompt you for updates automatically. If you want to check manually, go to the ‘Settings’ menu, and look for a section called ‘Support,’ ‘System,’ or ‘About.’ You will find an option for ‘Software Update’ there.
Q: Can I connect Bluetooth headphones to my smart TV?
A: Most modern smart TVs have Bluetooth built-in. Go to the ‘Settings’ menu, find the ‘Sound’ or ‘Audio Output’ section, and look for a Bluetooth device list. Put your headphones in pairing mode, and they should appear on the screen for you to select.
Q: What is the best picture mode for gaming on a new smart TV?
A: Look for a dedicated “Game Mode.” This setting significantly reduces input lag, which is the delay between you pressing a button on your controller and the action happening on-screen. It’s essential for a responsive and enjoyable gaming experience.
Q: My remote isn’t working. What should I do?
A: Start with the simplest solution: check or replace the batteries. If it’s a “smart” remote, it may need to be re-paired with the TV. Look for a pairing button on the remote or follow the instructions in your TV’s settings menu under ‘Remotes & Accessories’.
Curtain Call
And there you have it. You’ve successfully navigated the setup process. Your TV is no longer just a black mirror; it’s a fully customized, fine-tuned portal to incredible storytelling. By taking the time to learn how to set up new smart tv correctly, you’ve honored the work of the countless artists who poured their hearts into the shows and films you love. Now, grab the remote, sink into your couch, and press play. Your next favorite show is waiting. What will you be watching first? Let us know in the comments below.